Julie Pecarski Consulting

  • About Julie
  • HR Support
  • Nutrition Coaching
  • Blog
    • Recipes
      • Desserts, Snacks, Protein Balls + Fat Bombs
      • Drinks + Beverages
      • Juices, Smoothies + Bowls
      • Breads + Muffins
      • Cocktails
      • Breakfast + Brunch
      • Dips, Nut Butters, Spreads + Sauces
      • Salads, Soups + Stews
      • Main Dishes
      • Side Dishes
      • Special Occassion
      • Natural Beauty + Cleaning
  • Terms
You are here: Home / Uncategorised / How To Make Homemade Ghee

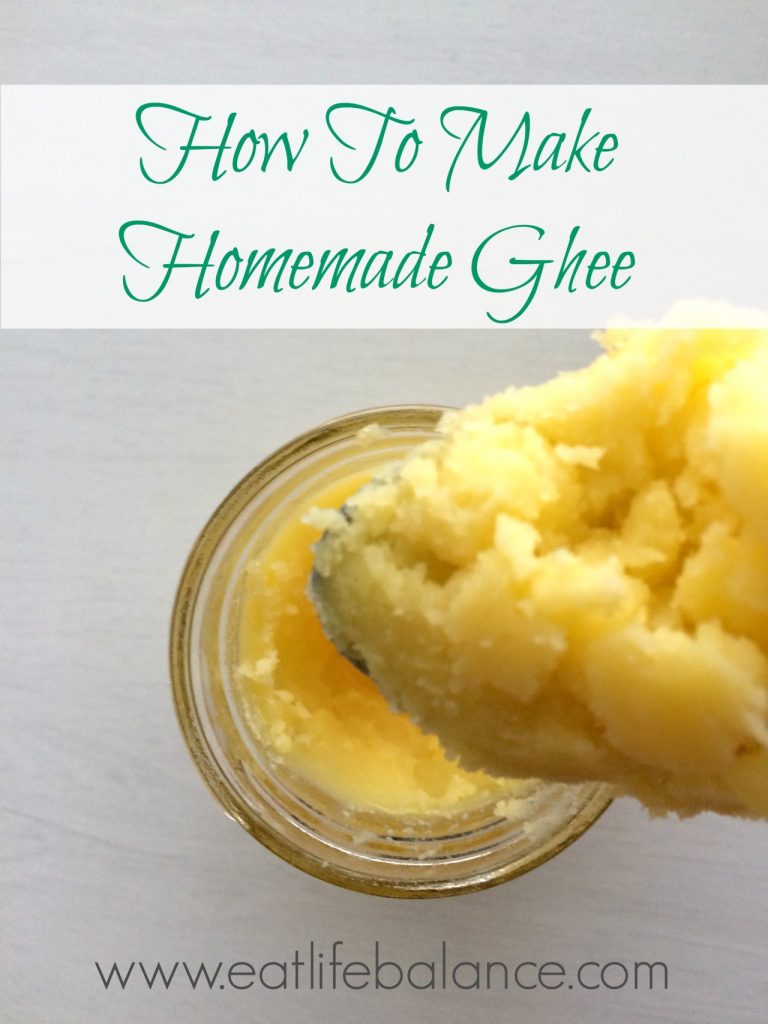
How To Make Homemade Ghee

Uncategorised

26 Jun

I don’t know about you but I’m all about trying to make as much as I possibly can in my own home. I want to be able to see and control what I am putting into my body. The same goes for ghee.  But, I understand that most people may not know what ghee is, never mind assume that it’s only for Indian food! (That’s what I thought too!)

Ghee has been used for thousands of years (2000 BC) making it a true ancient health food. It’s definitely not a fad. And, we know that the first origin of ghee did come from India but now it’s taking North America by storm and for good reason.
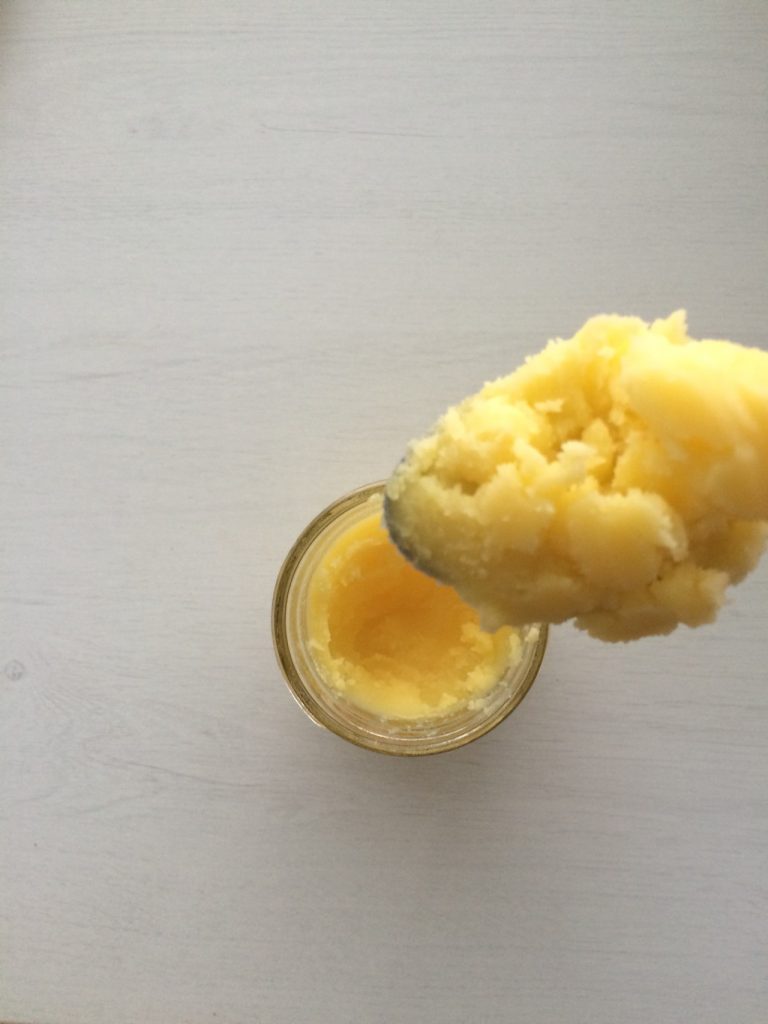
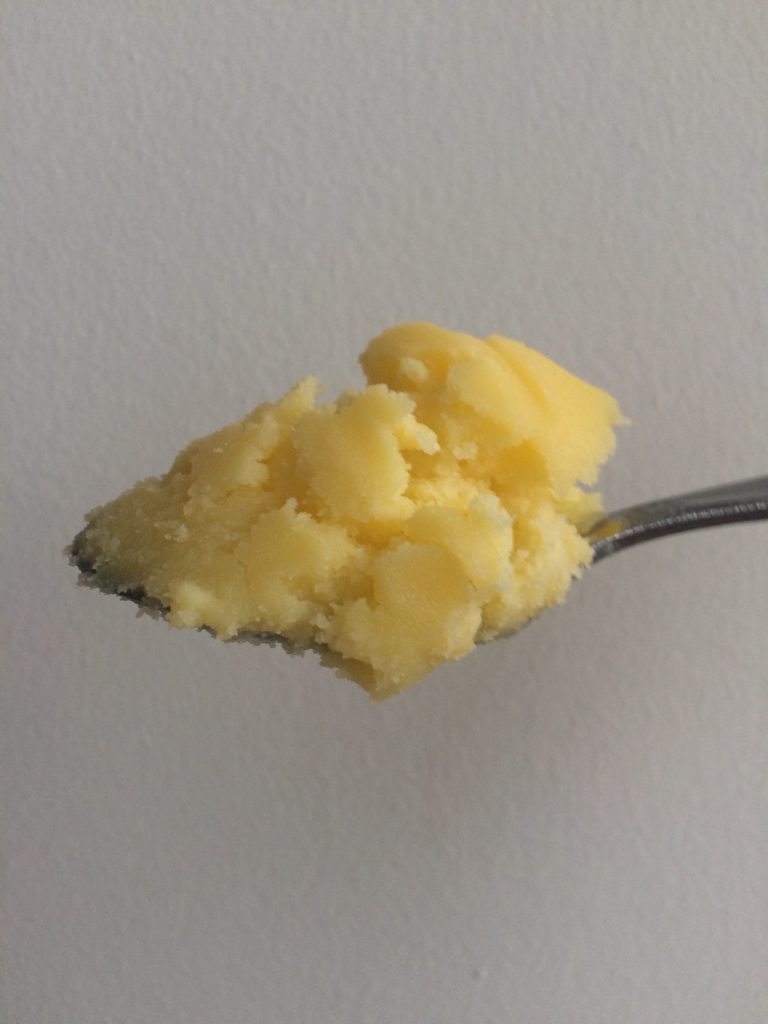
Ghee is clarified butter, but simmered longer to bring out butter’s inherent nutty flavor. It is traditionally made from cows milk, and the process of making ghee removes the water and milk fats, leaving a high-smoke point fat. Plus, it’s nutritionally rich like coconut oil and you’ll find many people use it for their Bullet Proof-style coffees.

Check out some of the benefits of Ghee:

It has a high smoke point.
It is rich in fat soluble vitamins A, D and E.
It is suitable for proeple with casein and lactose sensitivities.
Ghee made from grass-fed cows contains CLA (conjugated linoleic acid). CLA is related to the omega-6 fatty acids, one of the two types of essential fatty acids that help the body increase metabolic rates, boost the immune system and keep cholesterol levels in check.
Ghee contains butyrate, an essential short-chain fatty acid.
Ghee tastes like butter, and it’s even better!

And, it is so easy to make. Here’s How To Make Homemade Ghee:
ingredients
16 ounces (1 pound) of butter (must be unsalted, organic and grass fed to get the ideal benefits)

instructions
– Cut the butter into cubes and place in the heavy-bottom saucepan.
– Heat the butter over medium heat until completely melted. Reduce to a simmer.
– Cook for about 10-15 minutes. It will foam, then bubble, then seem to almost stop bubbling and then foam again. When the second foam occurs, the ghee is done. At this point, the melted butter should be bright gold in color and there should be reddish brown pieces of milk solids at the bottom of the pan.
– Let it cool for about 5 minutes and then slowly pour through the wire mesh strainer. You can line with several layers of cheesecloth if you really want to filter every bit of milk solids. I personally just skimmed the milk solids / foam from the top.
– Discard the milk solids.

Storage: ghee will last up to a month at room temperature or even longer in the fridge. I store half of mine in the fridge and the other half on the counter.

Usage: I use ghee as cooking oil for anything and everything as it imparts that buttery flavour that you love but without the dairy making it easy to digest.  I especially love it in my morning coffee and turmeric tea lattes!

Now it’s your turn: have you used ghee for cooking? Tell me in the comments below!

Share
Share
« Homemade Coconut Almond Hazelnut Nut Butter
Basil Pumpkin Seed Pesto (Vegan) »

Get Social

  • Email
  • Facebook
  • Instagram
  • Pinterest
  • Tumblr
  • YouTube

Recent Posts

  • Dairy Free Dark Chocolate Pudding
  • But first, coffee. How I make mine!
  • TOP 10 FOODS THAT I USE TO HELP ME BOOST METABOLISM
  • Low Carb vs. Keto – What’s The Difference?
  • Signs That Your Gut Is UnHealthy
  • Privacy Policy
  • Terms

balancebyjulie

Let’s not over complicate this sh*t shall we?!?! Let’s not over complicate this sh*t shall we?!?!

Save this for the days when your protein goal is looking a little… ambitious. 👀

#HighProteinLifestyle #ProteinTips #MidlifeNutrition #StrongOver40 #womenwholift
I was listening to a podcast recently talking abou I was listening to a podcast recently talking about why women in the 40’s and beyond need to stop thinking they need to be smaller. But rather thinking about something strength to carry them through the next phase of life.

Then, almost immediately, I overheard a woman talking about how frustrated she was because the scale wasn’t moving—if anything, it was going up.

And honestly? I get it.

I still catch myself getting wrapped up in the number sometimes.

But what I’ve learned is that when I follow a solid plan, fuel my body properly and consistently strength train, I get stronger. I sleep better. My energy is higher. And, truthfully, I really like the shape of my stronger body.

Maybe the goal isn’t to keep chasing a smaller version of ourselves.

Maybe it’s to build a body that can carry us through the next 40 years feeling strong, energized and confident.

And yes, we can still want to look our best. We just don’t have to make smaller the definition of better.

Who’s coming to this side with me?

#StrongOverSkinny #StrongOver40 #MidlifeGlowUp #WomenWhoLift #HealthyAging
Trying the viral HB high-protein pizza 🍕 Okay… I Trying the viral HB high-protein pizza 🍕

Okay… I get the hype. An easy way to add more protein while still enjoying pizza.

For the crust:
• ¼ cup cottage cheese
• ⅓ cup egg whites
• ⅓ cup flour
• 1½ tbsp coconut flour
• 1 tsp baking powder
• 1 tsp garlic powder
• 1 tsp oregano
• Pinch of salt

How to make it:

1. Mix all the crust ingredients together until combined.
2. Spread onto parchment paper into a thin, even crust.
3. Bake at 350°F for 10–12 minutes.
4. Remove and add your pizza sauce, cheese and favourite toppings.
5. Bake for another 10+ minutes, until the cheese is melted and the crust is cooked through.

🍕 Nutritionist verdict: Easy, high-protein and actually feels like pizza. No sad “diet food” vibes here.

Save this for your next pizza night!

#HighProteinRecipes #ProteinPizza #MidlifeNutrition #EasyHealthyRecipes #highproteinmeals
5 things I wish I knew when I started strength tra 5 things I wish I knew when I started strength training at 40:

1️⃣ Follow a plan. This is key to see results.
2️⃣ Progressive overload > randomly lifting heavy.
3️⃣ Eat after your workout — protein + carbs.
4️⃣ Recovery is part of the workout. I take 2-3 “active” rest days. 
5️⃣ Consistency. If you’re just starting out, start with 2 days & master that!

Your 40s are a pretty great time to start building the strongest version of you.

Want the training app I use? DM me “TRAIN” and I’ll send you a free week.

#WomenWhoLift #StrengthTrainingForWomen #StrongOver40 #MidlifeStrength #healthyaging
She didn’t need another complicated diet. She need She didn’t need another complicated diet. She needed a few simple tweaks that actually fit her busy life.

that’s the thing: it doesn’t have to be everything all at once!

two small changes—and ended up feeling better and losing lbs.

#MidlifeWellness #MidlifeNutrition #GutHealth #WomenOver40 #HealthyHabits
Follow on Instagram

Copyright © 2026 · juliepecarskinutrition.com. Customized by AlfredK